
Last Friday morning (April 5th), just after HWNSNBP left to do some errands, I was sitting here contemplating how I should use that time alone when suddenly, at 10:23 I heard a very loud explosion and the whole house began to shake. From where I was sitting I could see into the kitchen and the refrigerator was rocking, our new microwave was rattling and wobbling so much I thought it was going to fall off the wall, and I could hear the lids of the teapots on the cabinet soffit clinking, as well as feeling the floor shaking beneath my feet. It lasted at least 20 seconds which doesn't sound long, but try looking out a window and observing what's going on for 20 seconds and you'll be surprised.
I have to admit that it panicked me because I thought something in the neighborhood had exploded and even though I knew that HWNSNBP had left, I called out for him thinking he might have returned. Then I called him on his cell phone and he said he hadn't felt anything because he was in the car. While I was talking to him, I was getting a text message from our son in Tennessee asking if we were all right - that's how fast word spread that we had had an earthquake. The epicenter was about 6 miles from where we live and was given a 4.8 grading - the largest earthquake in this area in a very long time. It was felt as much as 600 miles away. Though our son in TN heard about it, they did not feel it, but our daughter in Delaware did.
They say that even though this wasn't as big of an earthquake that they have on the west coast, we feel it more here on the east coast because of the rock formation being older. They are said to be felt further away from the epicenter - there were reports of this being felt 600 miles away. I remember being in Cape May back in 2011 when there was a 5.8 quake in Virginia and feeling that, but this was so close and so much more scary. There have been over 40 aftershocks since then - one the next evening that I can say we felt and heard though it was a little further away.
Two days later it was our GS1's 8th birthday - we did get to facetime with him that evening and it came up in conversation that he didn't have school the next day because they were very close to the "Path of Totality" for the solar eclipse that would be happening right around dismissal time from school so they thought it would be better if the students were home with their parents.
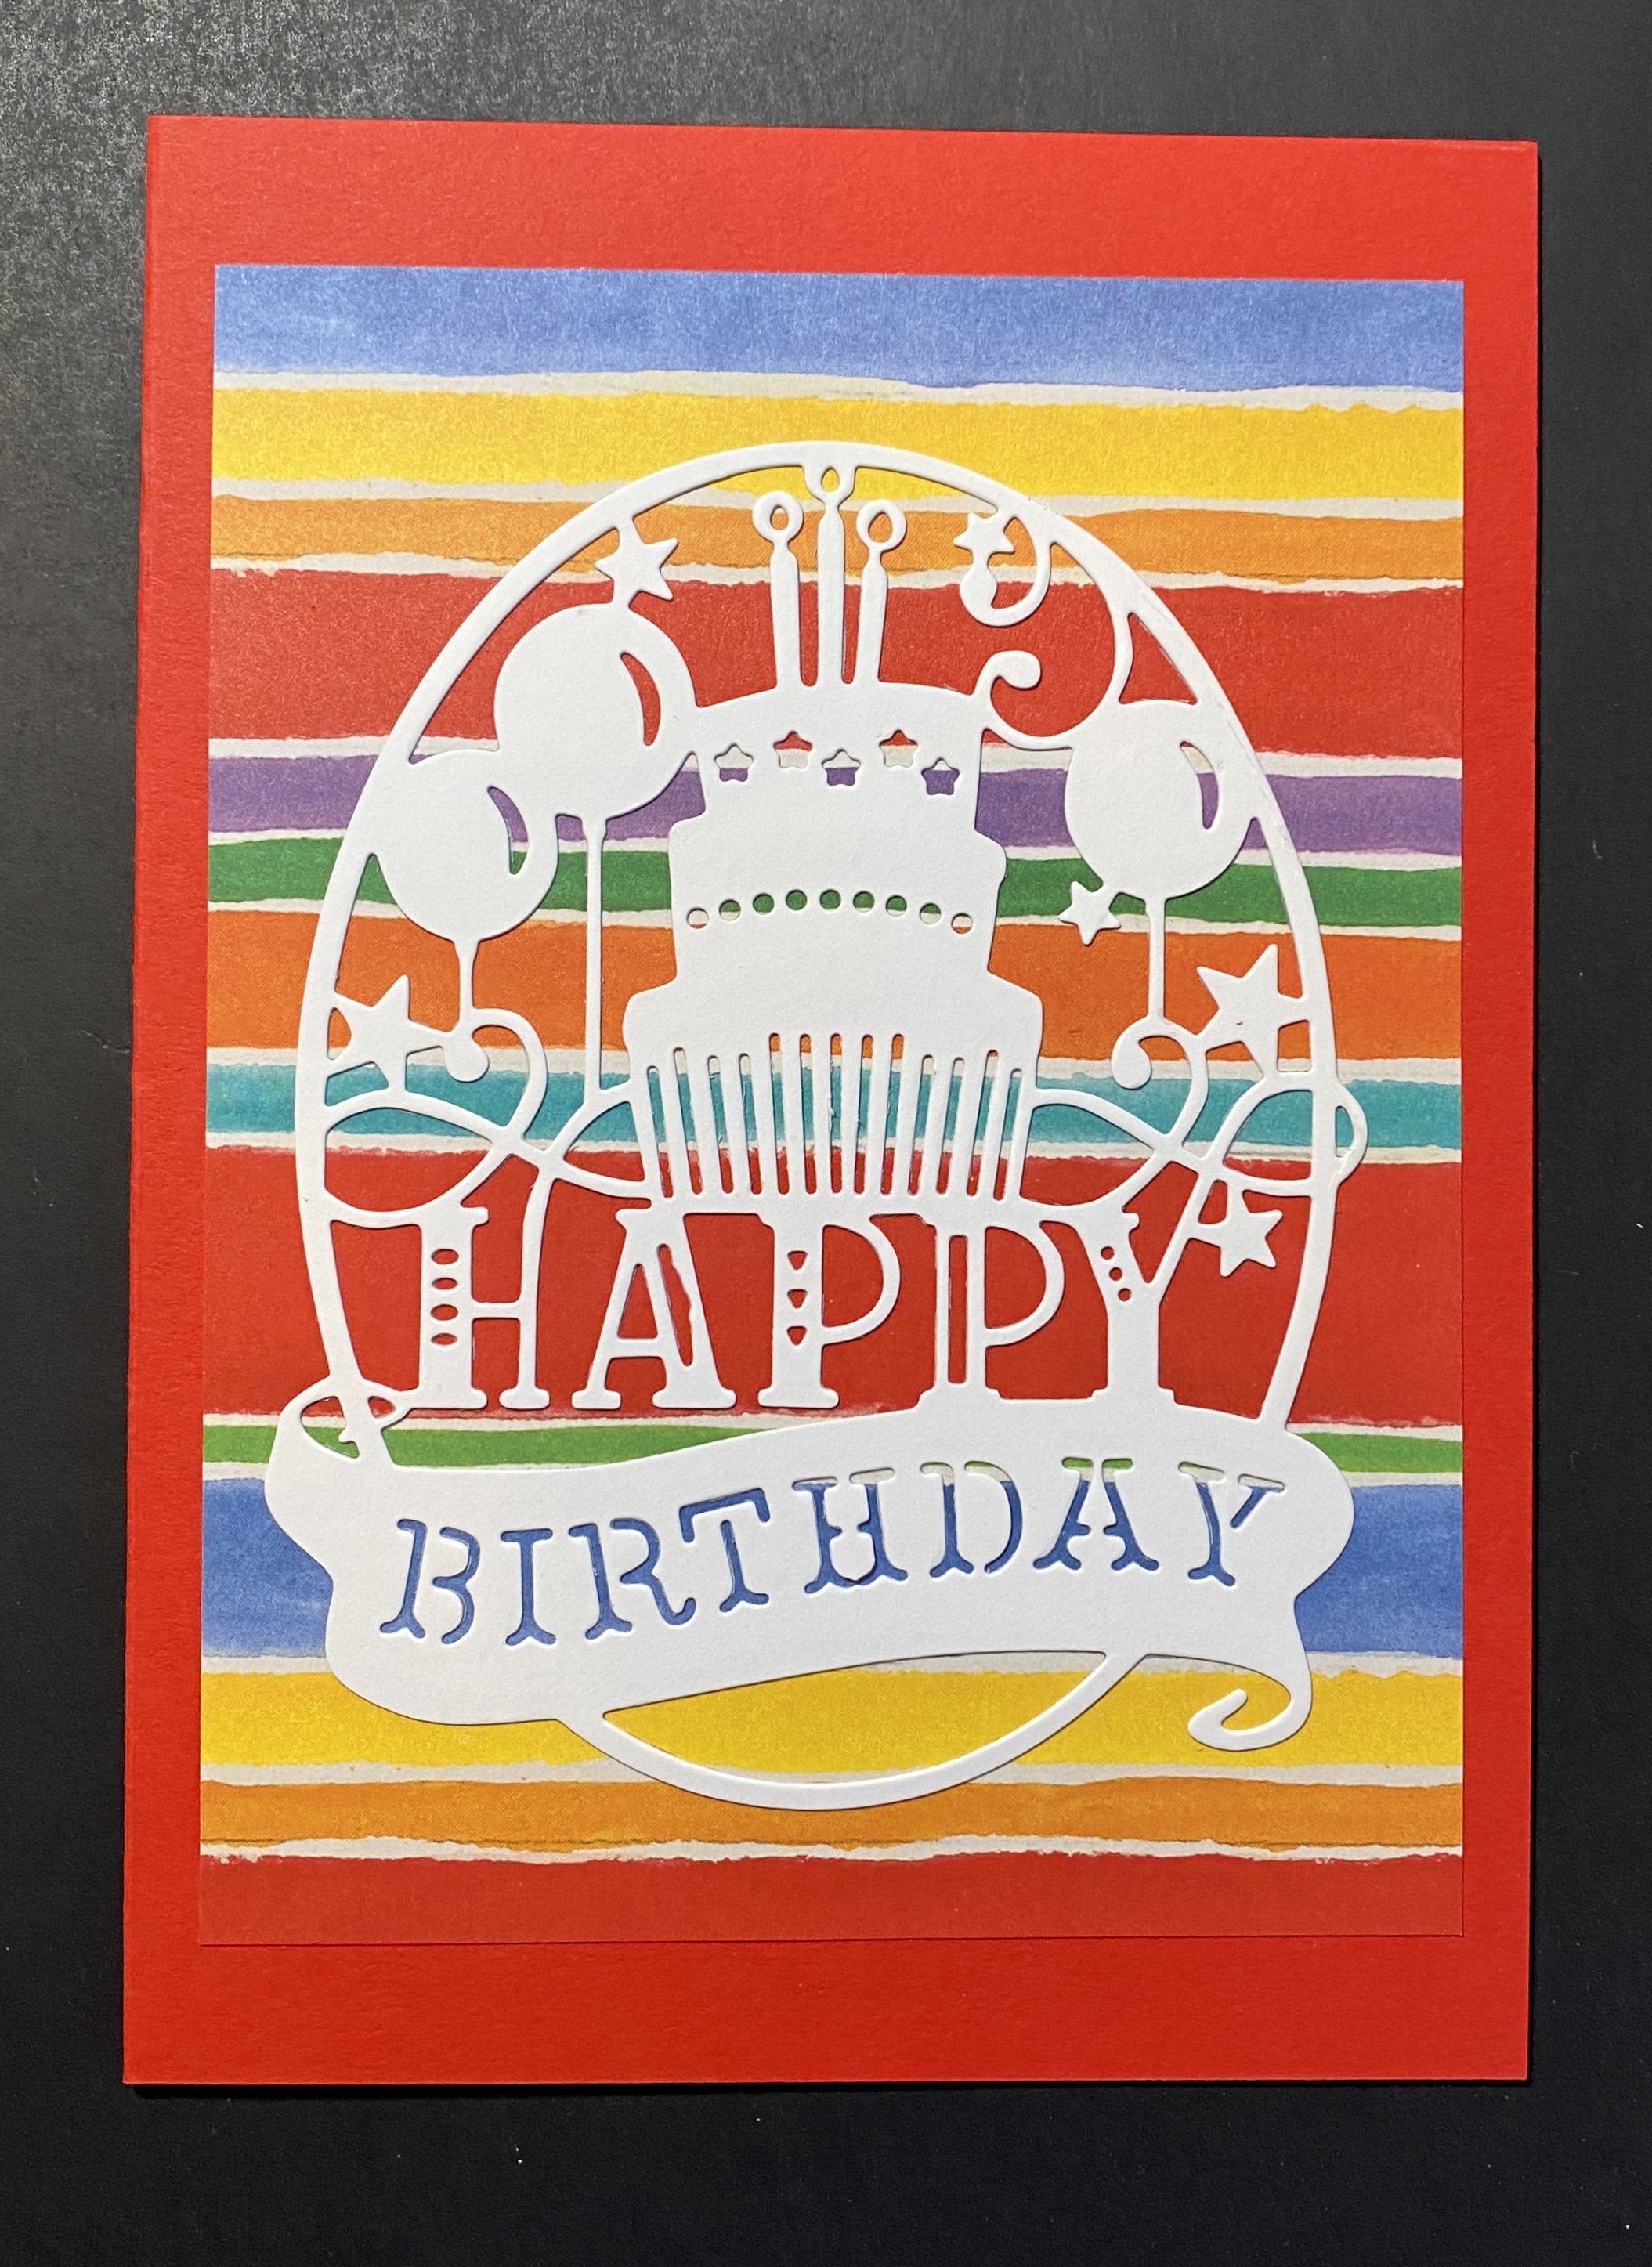
The card I made for him was quickly done with a die cut and some very colorful scrapbook paper in the background on his favorite color card base.
They were going to try the pinhole camera method of watching it, while I had sent HWNSNBP on a wild goose chase to find eclipse glasses so we could enjoy the predicted 89.9%. We lucked out that the planetarium at the local county college still had them on Saturday so we were prepared.


Unfortunately, by the time it was due in our area clouds were starting to roll in, but we did get to see part of it and I was able to take a picture with the glasses held up to the lense of my camera.
.JPG)
It wasn't totally dark for us, just like a cloudy day mostly, and we didn't notice any different behavior from the animals during that time like what was reported in the totality zone. Shortly after I took this picture, the heavier clouds rolled in and that was about all we got to see, but it was pretty cool. It'll be another 50 years or so until NJ is in the Path of Totality.
Our GS2 and his friends at daycare really enjoyed the day, though I doubt that they really understood what was happening. They did have approved eyewear.

His mom said he was pumped from all the "activities" of the day.

Oh and I almost forgot to show the special bakery treat that HWNSNBP picked up over the weekend for us to have....... special solar eclipse French macarons.... which I had later that evening and it was yummy, though it turned my tongue a strange bluish green.

I should've shared the Easter macaron they had that he gotten for me the week before..... it was a Cadbury cream egg-filled macaron that was about twice the size of the normal ones (like the eclipse one). I will be looking forward to next Easter to enjoy this again.

I got permission to stop wearing the back brace last week and I will be starting PT on Monday. The x-rays that they took in the dr. office showed everything is healing well. I need to strengthen my back muscles to learn how to walk straight upright again because I was compensating for the pain for so long it became habit to lean forward. There's still a long road ahead, but I'm walking on the treadmill daily and outside when the weather is nice enough. I've been using a cane when I go out for stabilization, but can walk around in the house without it for short periods of time. Sleeping is still not completely comfortable which makes me more tired during the day and prone to napping. This is why I feel that I'm not getting things done that I would like to be working on. HWNSNBP has been very attentive and helpful, but he has things that he wants to do also. One of the major issues we're (I'm) going to have is that I'm the weeder and they're already getting out of hand. I'm going to have to look for someone who does hand-weeding soon.


